Along with Seismic Anchoring Fittings and Zinc-Plated Oval Sleeves, we offer Low-Pry Fittings as part of our complete line of attachment hardware. Used to keep overhead equipment secure during earthquakes, these simple yet effective fittings mount quickly and easily with just a few steps.
To help you prepare for your seismic bracing installation, here are answers to commonly asked questions about Low-Pry Fittings.
 What Are Low-Pry Fittings?
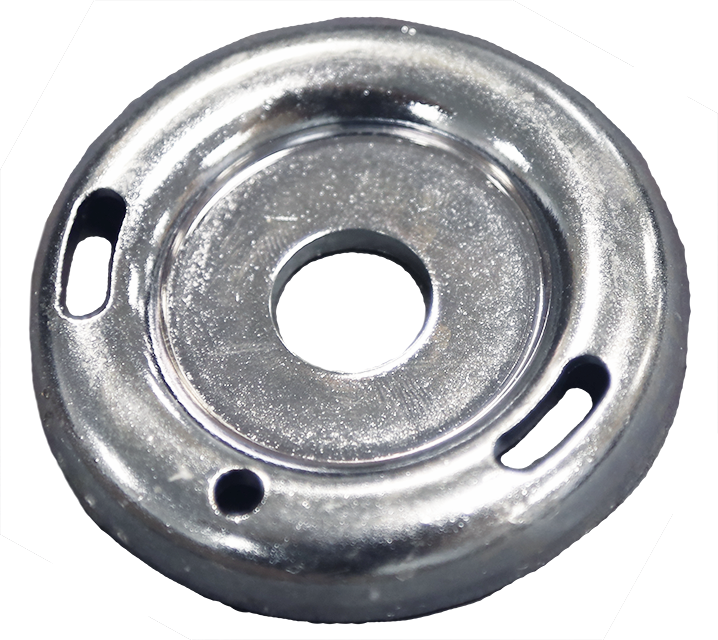
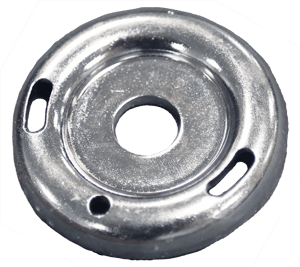
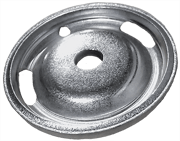
Low-pry fittings reduce the prying effects of seismic activity on concrete anchors. This not only protects occupants and other building structures, but it prevents significant damage to the equipment itself that may trigger electrical arcing or flooding. They are installed along with seismic bracing cable, and feature two cable holes, an inspection hole, and a fastener mount.
How Do Low-Pry Fittings Work?
Low-Pry Fittings ensure equipment systems move with the building during an earthquake, rather than against it. This fitting helps support sprinkler and HVAC systems, in addition to stabilizing trapeze supports, cable trays, and a wide range of other components. They provide a good balance of flexibility and strength, which reduces stress and pull on the concrete mounting points while still keeping equipment secure.
What Are the Benefits of Low-Pry Fittings?
Low-Pry Fittings from Loos and Company are available in an assortment of bolt hole sizes, and accommodate our #GO3, #OR4 or #GR6 Seismic Bracing Cable. They also maintain the break strength of their respective cable. Additionally, they are UL-listed, compliant with a wide range of building codes, and meet NFPA guidelines. Click here for more information.
 How To Install Low-Pry Fittings?
Low-Pry Fittings install quickly with just a few easy steps. To start, insert one end of the seismic bracing cable into the first chamfered hole. Then navigate the cable into the rounded channel slot, and pull it through the second chamfered hole to exit. Ensure the cable lays flat in the channel slot without twisting. Finally, swage the end of the cable using an oval sleeve and Locoloc® hand or battery swager. Do not forget to check the cable position inside the fitting by looking through the inspection hole. If properly installed, the cable should not be visible through the hole.
Visit our products page for more information about our Low-Pry Fittings, or contact us with any questions at https://loosseismicbracing.com/contact-us.